Devops Walkthrough
After logging into Bluemix, open the menu and select Apps|Dashboard. This gives you an overview of your running apps and services with options to create new ones. We are going to create a new app so click on Create App.
Under All Services select Apps|Boilerplates. Bluemix gives you a number of boilerplates to help get you started. Select the Node.js Cloudant DB Web Starter. This will set us up with an app that is bound to a Cloudant database and starter code for our Node server.
Your app just needs a unique name and then hit Create. After a few moments your server will be running using the starter code. Click on your server’s url to see the running server.

Lets take a look at some of the Bluemix Devops features. You are going to need to have a Github account so please create one if needed. Click on Overview. This gives you a breakdown of your running app, and in the bottom right corner you can enable Continuous Delivery. Do it.
The toolchain is preconfigured for continuous delivery, source control, blue-green deployment, functional testing, issue tracking, online editing, and alert notification. This is a setup that many companies need dedicated employees to develop and maintain, but you get with ease using Bluemix. Create the toolchain. (Note, if you haven’t done this before you are going to need to enter your Github credentials)
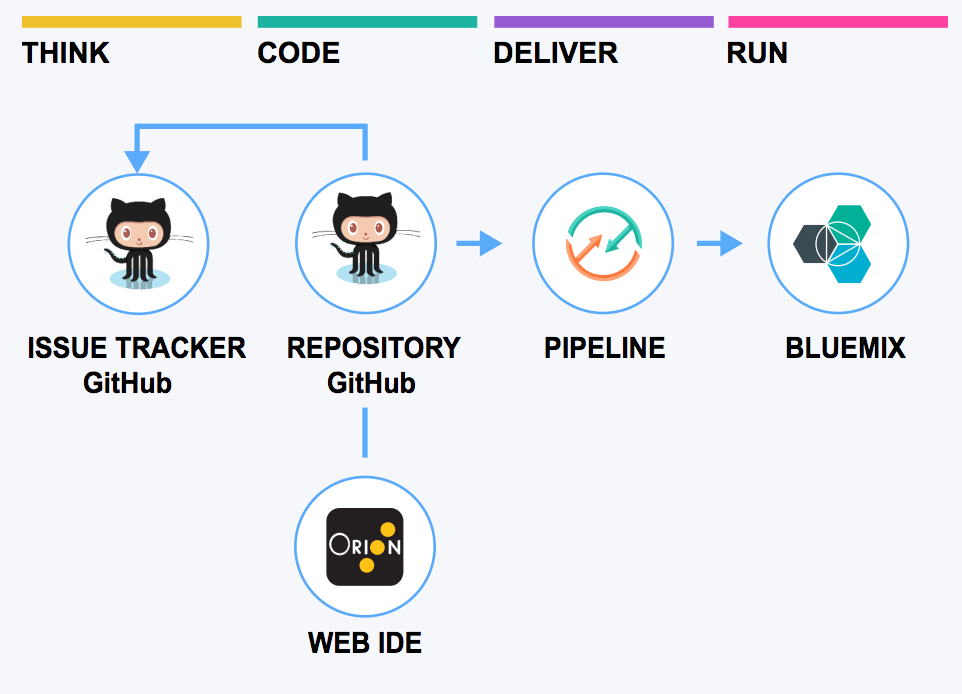
To see the toolchain in action, open the Eclipse Orion IDE. This online editor will allow us to make code changes without the need for setting up your local environment. You can also debug your live server and view log files using the tool.
Simply make a few changes to views/index.html and then, on the left side, select the git button ![]() button so that we can commit and push the change. Also, go back to your toolchain and open the Delivery Pipeline in a different window so that we can see it in action.
button so that we can commit and push the change. Also, go back to your toolchain and open the Delivery Pipeline in a different window so that we can see it in action.
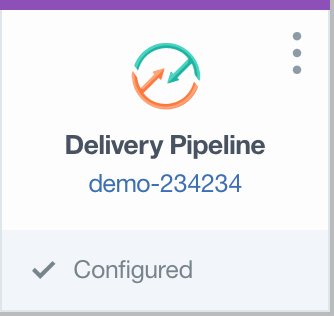
Commit your change, push it, and then quickly jump to your Delivery Pipeline window. The pipeline recognizes that there is a new commit and kicks off the build and deploy stages. Here you would also want to add a stage for running test cases so that every commit to your repo gets tested.

Setup for using Discovery News and the watson-developer-cloud package
Lets use our new app to try out the Discovery News service. We are going to
- Create the Discovery service and bind it to our app
- Update our package.json to add the watson-developer-cloud package as a dependency
- Update routes/index.js to connect to the Discovery service
If you go back to the Dashboard, and then click on your app, you will return to the page that lets you see the Overview of your app. In the same menu you can also view your app’s Connections. These are the services that are bound to your app. Here you see the Cloudant DB service that was setup for you as part of the boilerplate. Click the Create New button and we will add the Discovery Service.

Under Services select Watson. Here you have all of the available Bluemix Watson Services. We want the Discovery service so click on it and the hit the Create button. This will create the service and bind it to your app. After restaging the app, you will have access to the credentials needed to access the service as part of the app’s environment.
Once the app completes restaging go back to the Runtime view of your app and select Environment Variables. You see that our new service has had its credentials added.

Make note of the name of your new service and how to access its credentials in the JSON
    "discovery": [
        {
            "credentials": {
                "url": "https://gateway.watsonplatform.net/discovery/api",
                "username": "xxx",
                "password": "xxx"
            },
            "syslog_drain_url": null,
            "label": "discovery",
            "provider": null,
            "plan": "free",
            "name": "Discovery-ja",
            "tags": [
                "watson",
                "ibm_created"
            ]
        }
    ]
To access the service we are going to the the watson-developer-cloud package. Simply update your package.json and add it as a dependency.
 {
  "name": "cloudant_boilerplate_nodejs",
  "version": "0.0.2",
  "private": true,
  "scripts": {
    "start": "node app.js"
  },
  "dependencies": {
    "express": "4.13.x",
    "ejs": "2.4.x",
    "cloudant": "1.4.x",
    "body-parser": "1.14.x",
    "method-override": "2.3.x",
    "morgan": "1.6.x",
    "errorhandler": "1.4.x",
    "connect-multiparty": "2.0.x",
    "watson-developer-cloud": "^2.26.0"
  },
  "repository": {},
  "engines": {
  	"node": "4.x"
  }
}
The last thing that we are going to do, to complete the setup, is update routes/index.js to use the watson package and our discovery credentials to connect to the service.
"use strict";

var DiscoveryV1 = require( 'watson-developer-cloud/discovery/v1' );

function getDiscoveryCredentials()
{
	var vcapServices = JSON.parse(process.env.VCAP_SERVICES);

	// Pattern match to find the first instance of a Discovery service in
	// VCAP_SERVICES. If you know your service key, you can access the
	// service credentials directly by using the vcapServices object.
	for (var vcapService in vcapServices)
	{
		if (vcapService.match(/discovery/i))
		{
		        return {
		        	username: vcapServices[vcapService][0].credentials.username,
				password: vcapServices[vcapService][0].credentials.password
			};
		}
	}
}


var discoveryCredentials = getDiscoveryCredentials();

var discovery = new DiscoveryV1( {
    username: discoveryCredentials.username,
    password: discoveryCredentials.password,
    version_date: DiscoveryV1.VERSION_DATE_2016_12_15
} );

exports.index = function(req, res){
  res.render('index.html', { title: 'Cloudant Boiler Plate' });
};
Having to commit, push, and redploy is a bit tedious when we just want to play around with code. In the Devops editor enable Live Edit mode and your changes will automatically go live. Make changes, save, and restart the app to see your changes.
To complete the Discovery News demo go to http://pwcremin.github.io/bluemix/watson/discovery/news/bitcoin/2017/03/15/discovery-news-bitcoin.html